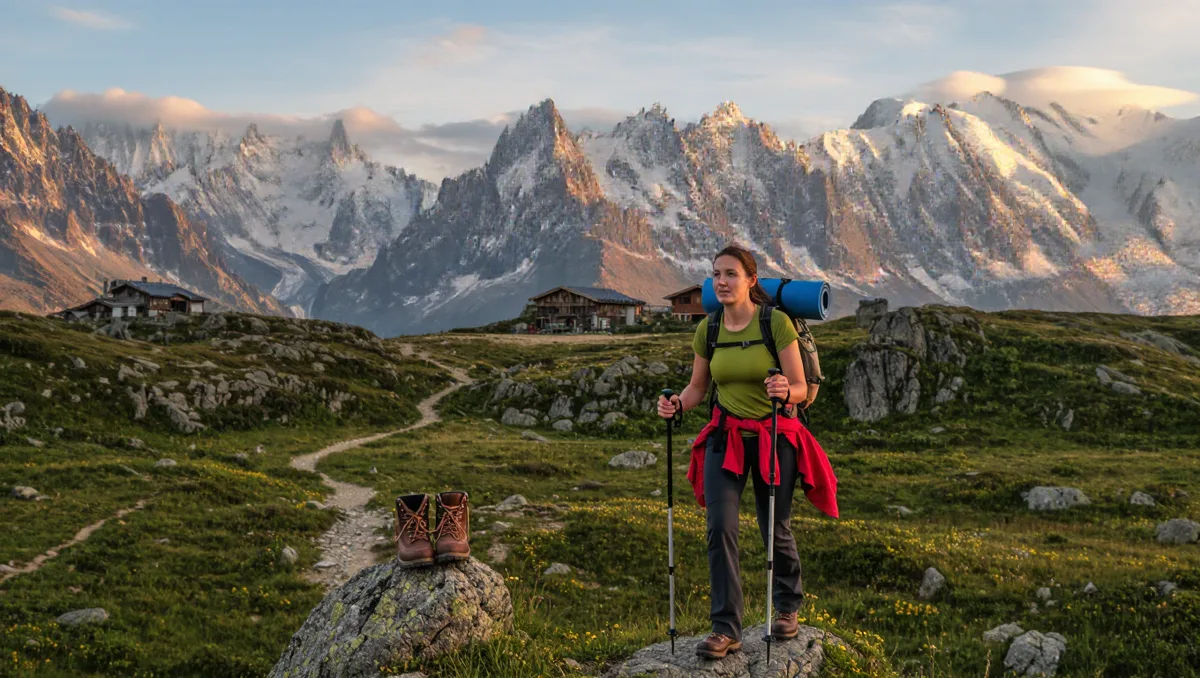
Train for your first multi-day trek by walking long distances on back-to-back days with a loaded pack, starting at least two months out. The plan below builds three things in order: your legs, your lungs, and your tolerance for carrying weight day after day. Most beginners train only the first two and discover on day two that the pack is the real opponent.
The good news is that trek fitness is mostly walking fitness. You do not need a gym membership or a coach. You need a schedule, a pair of boots you trust, and the discipline to put the pack on when the couch looks better. If your route involves a long transfer to the trailhead, logistics can eat a training day, so plan travel early — Amtrak, for instance, lets passengers bring up to two checked bags, two carry-ons and one personal item onboard, which matters when your luggage is a backpack plus a duffel of town clothes, according to Amtrak.
What does your trek actually demand of your body?
Before you train, define the load. A five-day hut-to-hut walk with a light bag asks something very different from a self-supported backpacking route where you carry food, shelter, and water for the whole trip. Check three numbers from your route description or the managing agency's page: daily distance, total elevation gain per day, and how many consecutive days you will be out.
Write those numbers down. They become your training targets. If your trek covers roughly fifteen kilometres a day with steady climbs, your longest training walk should approach that distance before you leave, and your weekly climbing should look like the route's, not flatter. Conditions and route details change, so confirm current figures with the managing agency or your tour operator before you commit to a plan.
How should the weeks before your trek be structured?
Work backwards from your departure date in four blocks. Adjust the length of each block to the time you actually have; the order matters more than the exact week count.
- Weeks one and two — build the base. Walk most days. Keep the pace conversational and the terrain easy. Your goal is simply volume: get your body used to moving for an hour or more without complaint. If you currently walk very little, this block is where most of the magic happens.
- Weeks three and four — add hills. Move one or two walks a week onto stairs, hills, or the steepest trail you can reach. Descending counts as training too. Downhill steps hammer your quads and knees in a way flat walking never does, and sore descending muscles are what ruin day three of a trek.
- Weeks five and six — introduce the pack. Start carrying weight on your two longest walks of the week. Begin light and add a little each week, working toward the load you expect to carry. Wear the boots, socks, and pack you will travel with. Blisters and hot spots are training problems; solve them at home.
- Final weeks — back-to-back days and taper. Do at least two consecutive long walks, ideally on a weekend, with your full expected load. This is the single most trek-specific session in the plan. Then ease off in the last week before departure: shorter walks, no new weight, fresh legs for the trail.
If you want a fuller week-by-week breakdown, our guide to training for a multi-day backpacking trip walks through the same progression in more detail. We covered a connected angle in How to Train for a Multi-Day Backpacking Trip: An 8-Week Plan.
Should you train strength as well as walking?
Yes, but keep it simple. Two short sessions a week are enough. Focus on the muscles that carry you uphill and hold you together under a load: legs, hips, and core.
- Step-ups. Use a sturdy bench or stair. Step up, step down, alternate legs. This mirrors trail climbing better than almost any machine.
- Heel raises and calf work. Steep trails and stairs load your calves hard. Strong calves also protect your Achilles on long descents.
- Core holds and hip work. A loaded pack shifts your balance. Planks, side planks, and simple single-leg balance drills teach your trunk to stay steady when the pack tries to sway you.
None of this requires equipment beyond what you have at home. If a session leaves you too sore to complete your walks, cut the strength back. Walking is the priority; strength supports it.
How do you train the pack without hurting yourself?
Gradually, and with your real gear. Pack tolerance fails in two places: the shoulders and the hips. A properly fitted pack transfers most of the weight to your hips, so spend early loaded walks adjusting hip belt and shoulder strap tension until the weight sits on your pelvis, not your shoulders.
Add weight in small increments and give your body a week to adapt between increases. Fill the pack with what you will actually carry — water bladders are an easy, adjustable load — rather than random books lashed awkwardly. And practise the small skills under load: taking the pack off and on, adjusting straps on the move, and stopping for breaks without dumping everything in the dirt.
Our analysis of where first-timers go wrong is consistent: they train distance in flat shoes, then meet a hilly trail in new boots with a heavy pack and no calluses. Every one of those is a preventable training problem, not a trek problem.
What about lungs, altitude, and rest?
For most low and mid-elevation treks, steady walking builds all the aerobic capacity you need. If your route climbs to significant altitude, be honest with yourself: fitness helps you walk, but it does not remove the need to plan a gradual ascent and know the symptoms of altitude sickness. Check the route guidance from the managing agency or a reputable operator, and build acclimatisation days into the itinerary rather than hoping fitness will substitute for them. If a guided trip is on your shortlist, it is worth reading how to choose a reputable trekking tour operator before you book.
Rest is training. Your body adapts between walks, not during them. Take at least one full rest day a week, sleep properly, and treat a niggle in a knee or tendon as a signal to back off, not push through. An injury two weeks before departure is a far worse outcome than a slightly shorter longest walk.
What this means for your first trek
Start early, walk often, add hills, then add weight, then add consecutive days. Train in the gear you will wear. Confirm your route's daily distances, elevation, and current conditions with the managing agency or operator, because figures change and trail pages are updated more often than any article. Do that, and your first multi-day trek will feel like the hard end of your training week rather than something beyond it.
When the plan is done and the pack is packed, the last job is the same one every experienced trekker keeps: check conditions before you go, and be willing to change your route when the trail says so.