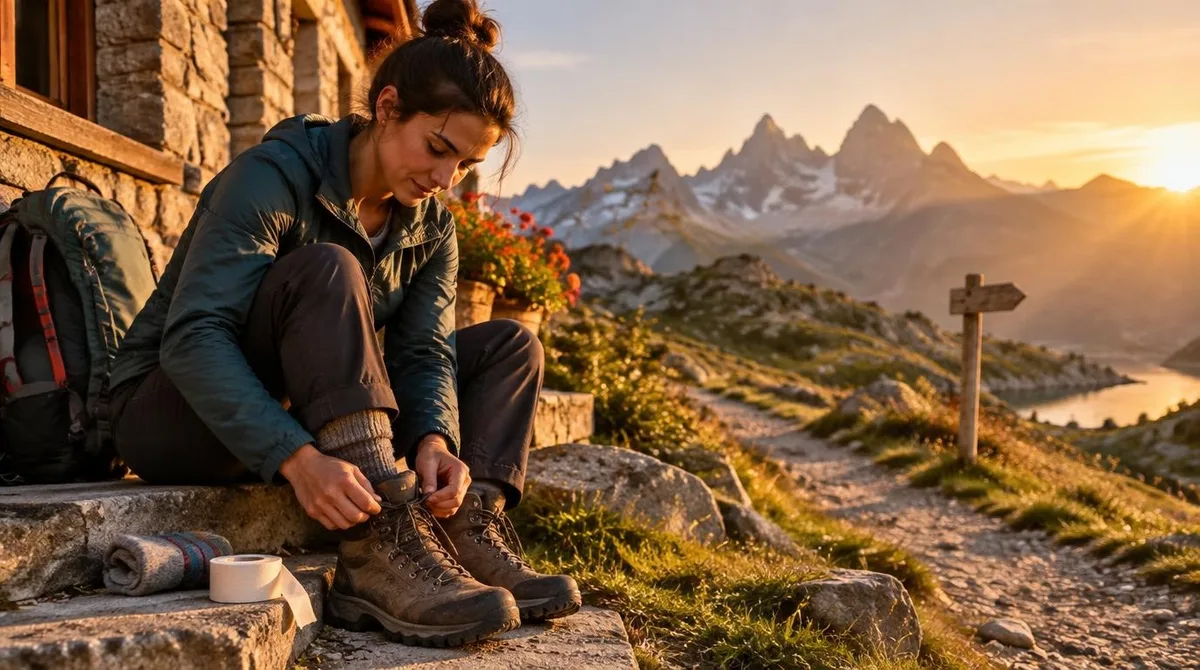
Blisters end more long hikes than sore legs or bad weather, and prevention starts before the trailhead: shoes that fit, moisture-wicking socks, and tape on known hot spots. In a 2016 randomized trial, paper tape cut foot blisters by 40 percent among ultramarathon runners, per the study published in the Clinical Journal of Sport Medicine.
The rest of the system is just as plain. Stop friction before it heats up, treat a hot spot in its first minutes, drain a formed blister only when you must, and keep the roof on. Do that, and a seven-day trek stays on schedule. For related coverage, see How to Layer for Winter Day Hikes: A Three-Layer System That Works.
What Causes Blisters on a Long Hike?
Three inputs stack up: rubbing, moisture, and hours. Per Wikipedia's blister overview, intense rubbing causes blisters most commonly after walking long distances or in old, poorly fitting shoes, and blisters form more easily on damp skin than on dry or soaked skin, especially in warm conditions. A sock that stays wet is not a comfort problem; it is a skin problem.
How Do You Prevent Blisters Before the Trailhead?
Start with gear, then pre-tape the known trouble zones. Dermatologists at the American Academy of Dermatology recommend nylon or moisture-wicking socks, a second pair when one does not help, and shoes that are neither too tight nor too loose, per the academy's blister guide.
- 1. Fit the shoe with hiking socks on, with a thumb's width at the toe
- 2. Pick moisture-wicking socks; skip cotton, which holds sweat against skin
- 3. Break in boots on short walks before a long hike
- 4. Pre-tape toes and heels; those sites took 50 and 23 percent of blisters in the 2016 trial
- 5. Smooth powder or petroleum jelly on rub points, as the academy advises
The 2016 trial, run on 128 runners at six-stage desert ultramarathons, found paper tape stayed on through heat, sweat, and river crossings, and it rarely irritated skin, per the study record.
What Is the Hot-Spot Protocol?
A hot spot is a warm or stinging patch of skin, and it becomes a blister in minutes. The academy's advice is blunt: stop your activity immediately if the skin turns red. Five minutes of trailside work saves a week of limping.
- 1. Stop at the first sting, not at the next rest stop
- 2. Dry the patch; moisture drives friction
- 3. Tape the spot flat and smooth, with no wrinkles
- 4. Recheck it at every break and retape where the tape has shifted
How Do You Treat a Blister That Has Already Formed?
Leave the roof alone. The academy recommends a loose bandage with the middle raised, and donut-shaped padding around blisters on pressure points like the bottom of the foot. Popping invites infection, so drainage is reserved for large, painful blisters, done with a needle sterilized in rubbing alcohol, per the academy's guidance. Keep the roof as the pad over the raw skin, wash the area with soap and water, and add petroleum jelly under a fresh bandage.
Healing runs one to two weeks, per the academy, which is longer than most trips. That is the argument for the whole protocol above. Watch the blister as it heals; if redness, pus, or swelling grows, it is time to see a doctor.
Conclusion: Feet First, Summit Second
Long hikes are won with feet, and feet are won with boring routines: fit, dry socks, early tape, and hands off formed blisters. Pack the tape where you can reach it, because the window between hot spot and blister closes fast. We covered a connected angle in What to Pack in a Hiking Day Pack: The Ten Essentials, Sorted by Trip Length.
- Protocol: hot spot means stop, dry, and tape within minutes
- Evidence: paper tape cut blisters by 40 percent in a 2016 randomized trial of 128 ultramarathon runners (Lipman et al., Clinical Journal of Sport Medicine, September 2016)
- Hot zones: toes (50 percent) and heels (23 percent) of trial blisters
- Prevention: moisture-wicking socks, snug fit, powder or petroleum jelly (AAD guide, checked October 2026)
- Treatment: loose bandage, donut padding, keep the roof; infection signs mean medical care (AAD, checked October 2026)