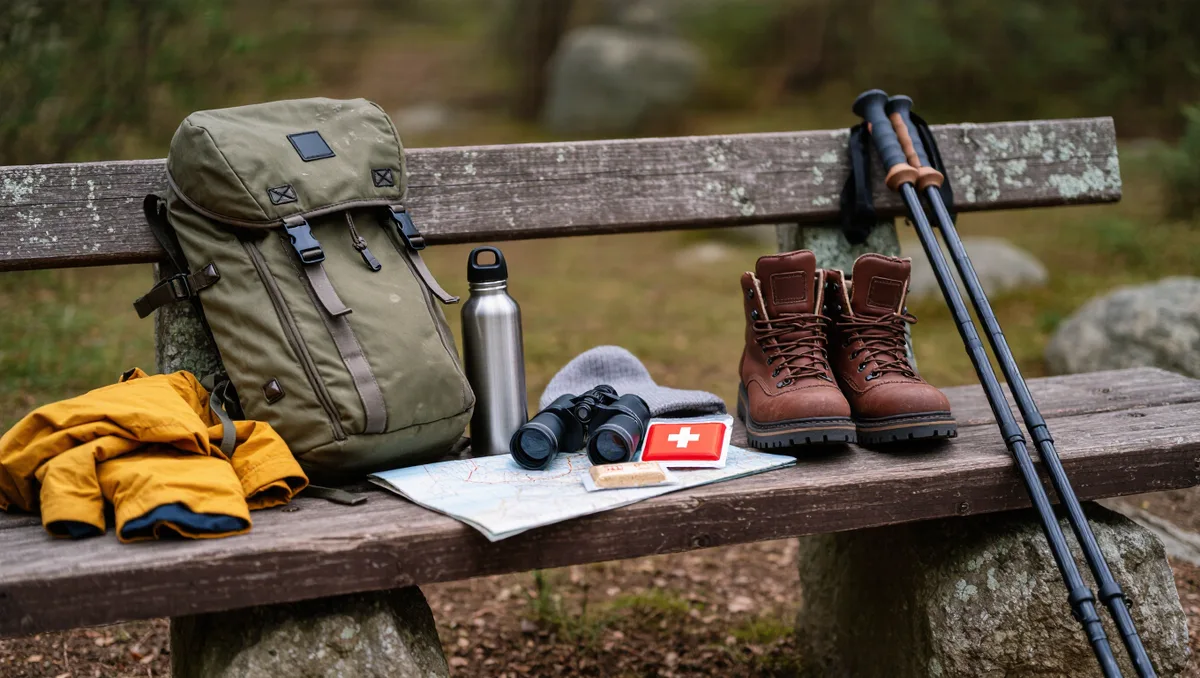
What to pack in a hiking day pack comes down to one question: how long could you be out if something went wrong? The answer starts with the ten essentials — navigation, sun protection, insulation, illumination, first aid, fire, repair kit, nutrition, hydration, and emergency shelter — and then trims or expands each category to match your route. A two-hour loop near town needs a lighter version of the same list than a ridge traverse that could eat your whole day.
The word "ultimate" in a checklist title invites skepticism, and rightly so. Merriam-Webster defines ultimate as "last in a progression or series" — which is honest, because no packing list is ever finished. You refine it every season, every route, every time the weather report surprises you.
This guide reorganizes the ten essentials by trip length, then walks through the swaps that save weight without touching safety. The core principle throughout: cut redundancy, not capability. For more route planning and gear context, our outdoors coverage covers the rest of the planning chain.
What belongs in every day pack, no matter the trip?
Some items earn their spot on every outing, from a city-adjacent nature walk to a full-day climb. These are the non-negotiables, and they map directly onto the classic ten essentials framework long used by mountaineering organizations and land agencies.
- Navigation. A map of your route and a compass you actually know how to use. A phone with a downloaded offline map counts as a backup, not a primary — batteries die, screens crack, canyons block signal.
- Sun protection. Sunscreen, a hat, and sunglasses. Sun exposure adds up fast at altitude and on snow, and it is one of the easiest categories to cover for a few grams.
- Illumination. A headlamp with fresh batteries. Even if you plan to be back by mid-afternoon, a delayed start or a wrong turn can push you into dusk.
- First aid. A small kit: blister care, wound dressings, any personal medications. You are treating scrapes and sprains, not performing surgery.
- Nutrition and hydration. More food and water than you think you need, plus a way to treat water from a natural source if your carry runs out.
- An emergency shelter. A lightweight emergency bivy or space blanket weighs almost nothing and covers the scariest scenario: an unplanned night out.
Fire-starting and a repair kit round out the classic list. A lighter or matches in a waterproof container, plus a few strips of tape wrapped around a trekking pole shaft or a small multitool, handle both. If you use poles, our guide to choosing trekking poles covers materials and fit — and poles double as splint material in a pinch.
How should the list change for a short outing versus a full day?
The honest answer: the categories never change, only the depth of each one. Think of it as dialing the same ten dials up or down.
| Category | Short outing (a few hours, close to town) | Full day (remote terrain, variable weather) |
|---|---|---|
| Insulation | A light layer tied to the pack strap | A full extra layer plus a shell, sized for the worst forecast, not the best one |
| Water | What you'll drink, plus a small margin | Carry plus a treatment method for refills from streams |
| Food | A snack beyond what you plan to eat | A full extra meal's worth of dense calories |
| Navigation | Route map, phone backup | Paper map, compass, offline maps, and the knowledge to use them without a screen |
| First aid | Minimal kit | Expanded kit with more blister care and dressings |
The trip-length test that matters most is not the planned duration but the worst-case duration. If your ride home depends on a shuttle that runs twice a day, or the last stretch crosses exposed ground where a storm would be serious, pack for the full-day column even on a "short" route. Our guide to hiking safely in extreme heat is a good example of why: hot-weather trips fail slowly, then suddenly, and the pack that helps at hour two is different from the one that helps at hour eight.
Which weight-saving swaps don't compromise safety?
This is where packing lists earn their keep. The goal is a lighter pack that still covers every essential category — never a lighter pack with gaps. The swaps below trade bulk or duplication, not function.
- Decant, don't delete. Move sunscreen, treatment chemicals, and lotions into small travel containers. You keep the full function at a fraction of the packaged weight.
- One multi-use item beats three single-use ones. A bandana works as sun protection, a pot holder, and a bandage wrap. Trekking poles serve as shelter poles and splints. Choose gear that overlaps.
- Trim the first aid kit to what you can actually use. A kit full of items you've never trained with is dead weight. Keep blister care, dressings, and personal medications; leave the field-surgery fantasy at home.
- Swap the paper trail guide for photographed pages. Photograph the relevant pages of a guidebook instead of carrying the book — but keep the paper map. Screens fail; paper doesn't.
- Share group items. Hiking with a partner? One water treatment setup, one repair kit, one shelter per pair. Coordinate before you leave so neither of you double-carries — or worse, both assumes the other has it.
- Leave the "just in case" comfort items behind. The camp chair, the second book, the full-size toothbrush. If an item exists purely for comfort at rest stops and you'd never use it in an emergency, it's a candidate to stay in the car.
One swap to resist: replacing a real emergency shelter with nothing because the forecast looks clear. Forecasts are probabilities, not promises, and the shelter category exists precisely for the day the probability breaks against you. Similarly, in bear country, food storage rules can require a canister even on day trips — check the managing agency's requirements before you go, and see our overview of where bear canisters are required in the US.
What's the best way to actually pack the bag?
Organization matters as much as contents. A perfectly stocked pack fails you if the headlamp is buried under lunch when the light goes.
- Heavy and rarely needed goes low and close to your back. Water, the shelter, the bulk of your food.
- Emergency items go where one hand can find them. Headlamp in the lid pocket or a hip-belt pocket. First aid where you — or someone helping you — can reach it fast.
- Frequently used items go in outer pockets. Snacks, sunscreen, map. You should be able to refuel without stopping.
- Keep the system consistent. Same pocket, same item, every trip. Muscle memory is a safety feature; in cold, rain, or fading light you'll find gear by habit, not by search.
- Do a dry run at home. Lay everything out against the checklist before each season's first hike. Expired sunscreen, dead headlamp batteries, and missing medications are all found on the living room floor, not the trail.
Water treatment deserves its own moment of attention. For anything beyond a short loop, know how you'll refill — and our guide to making backcountry water safe to drink compares filters, chemical treatments, and boiling so you can pick a method that fits your route and your patience. For related coverage, see How to Make Backcountry Water Safe to Drink: Filters, Chemicals, and Boiling.
Our analysis: build the list once, then tune it per trip
The strongest packing habit isn't a perfect checklist — it's a stable baseline you adjust deliberately. Set up a pack that lives ready-to-go with the universal items: navigation, sun protection, headlamp, first aid, fire, repair kit, emergency shelter. Then add the trip-specific layer each time: insulation matched to the forecast, food and water matched to the hours, and route-specific items like traction devices or insect protection.
That two-layer system is what makes weight-saving safe. You're not deciding each morning whether to bring a headlamp; the headlamp never leaves the bag. You're deciding whether tomorrow's route needs the heavier insulation or the extra meal — a much easier judgment to make well.
It also protects against the classic day-hike failure mode: the pack built for the plan instead of the possibilities. Plans change at trailheads. Gates stay locked, storms arrive early, trails fork differently than the map suggested. A baseline pack absorbs those surprises; a plan-built pack doesn't.
The takeaway: lighter is a method, not a goal
A well-packed day pack covers all ten essential categories, scales its depth to the worst-case duration of your trip, and sheds weight through smarter choices rather than missing items. Start with the universal layer, add the trip layer, and audit the whole kit at the start of each season. Conditions and requirements change — check with the managing agency for your specific route before you go, since some areas mandate items (like canisters or traction) that no generic checklist can predict.
And treat the checklist itself as a living document. The hiker who wrote "ultimate" on their list a decade ago and never revised it is carrying yesterday's trip. The one who tunes the list after every outing is the one whose pack is genuinely ready. We covered a connected angle in Avalanche Basics Every Winter Hiker Should Know Before Steep Snow.